How to create a group in GitLab
Create a group
Your projects in GitLab can be organized in 2 different ways: under your own namespace for single projects, such as ´your-name/project-1'; or under groups. If you organize your projects under a group, it works like a folder. You can manage your group members' permissions and access to the projects.
To create a group, follow the instructions below:
Sign in to GitLab.com.
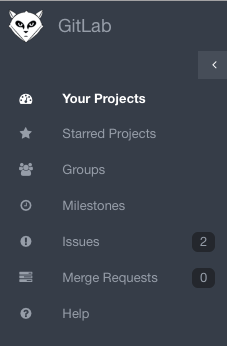
When you are on your Dashboard, click on "Groups" on the left menu of your screen:
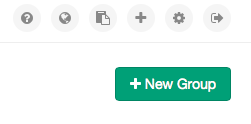
Click on "New group" on the top right side of your screen:
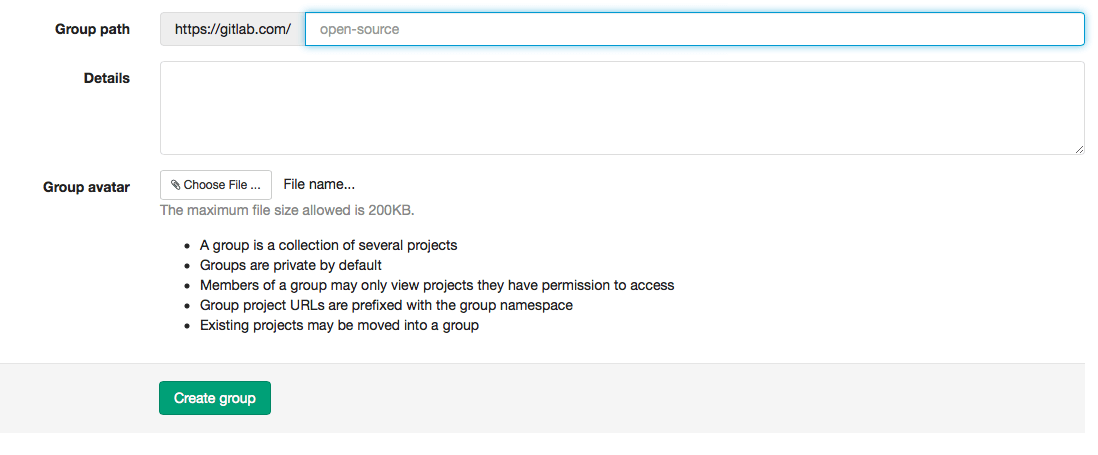
Fill out the information required:
Add a group path or group name (you can't add spaces, so you can use hyphens or underscores)
Add details or a group description
You can choose a group avatar if you'd like
Click on "create group"
Add a project to a group
There are 2 different ways to add a new project to a group:
- Select a group and then click on "New project" on the right side of your screen. Then you can create a project

- When you are creating a project, click on "create a group" on the bottom right side of your screen
